
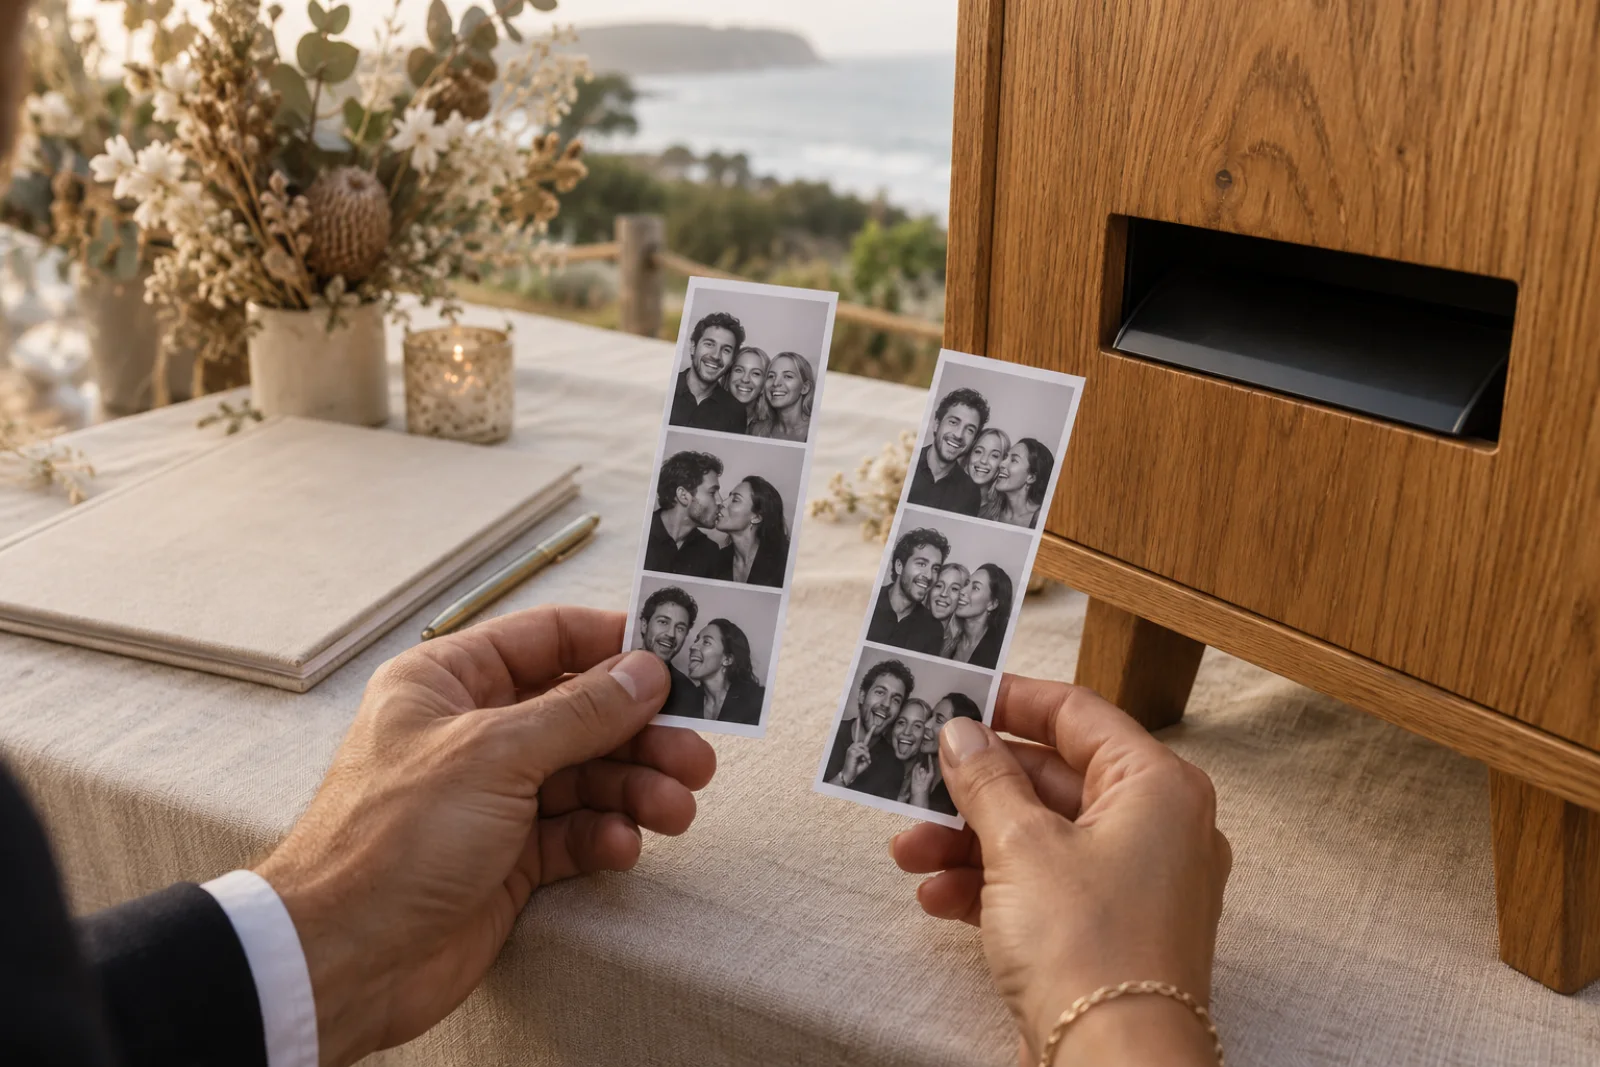
A photo booth guest book pairs the picture with a message you probably wouldn't get in a formal wedding album. A friend might write the joke that explains the pose; a grandparent might leave a few lines you'll want to read again. It works best when guests can understand the idea without hunting for supplies.
For the wider reception plan, see our Geelong wedding photo booth guide. The guest book is a separate small project, and it helps to give one person responsibility for it. For the booth package itself, our Geelong hire guide explains what is included.
Choose a book that can hold the prints
Start with the format of the strip. Our personalised prints use the classic 2 by 6 inch strip size. Check that the album pages leave space beside that shape for a handwritten message and that the book will still close once photos have been added throughout it.
Thicker pages are worth considering, but you don't need to buy a book marketed specifically for photo booths. An album or scrapbook can work if the paper and binding suit the way you plan to attach the prints.
Test one page with the adhesive and pens you want to use. Some pens smudge or show through thin paper. A few minutes of testing at home is easier than discovering the problem after several guests have written their messages.
Keep the table close without blocking the booth
Place the book near the booth, where guests can collect a strip and move over to write. Leave a gap between the print collection point and the writing area so the next group can have their turn.
A table needs room for an open album, pens and adhesive, plus space for people to stand comfortably. If several guests are writing together, a little extra clear surface helps. Avoid putting drinks on the same table if you can provide somewhere else nearby.
Check the position with the venue when you confirm the booth floor plan. The guest book table is additional to the roughly 3 m by 3 m space needed for the booth setup. It shouldn't be squeezed into the guest queue or a doorway.
Give guests one clear instruction
A small sign is enough. You could use: "Take a strip, add it to the book and leave us a message. Please take a photo home too." Use wording that fits your event, and make it large enough to read while standing.
A finished example on the first page helps. Add a sample strip or mark out where one will sit, then write a short message yourself. Guests can see how much space to use without having to ask.
Unlimited live prints are included during the booked hire period, so guests can keep a strip and add one to the book. Explain the guest book plan to the attendant before the event so they know why people may ask for copies.
Set out supplies people can use quickly
Photo-safe adhesive corners or a suitable tape system can be easier to manage than a wet glue stick, depending on the album you've chosen. Test the combination and follow the product instructions. Prepare enough supplies for the event and keep the spare pack close by.
Choose pens that contrast with the page. Dark pages need an appropriate light or metallic pen; light pages usually need a darker one. Leave several pens on the table so one guest looking for a cap doesn't stop everyone else writing.
If you'd prefer to avoid adhesive during the reception, guests can leave messages on separate cards. Keep cards and prints together in a clearly labelled place, and allow time to assemble the album afterwards. That shifts work to you, but may suit a delicate or special book.
Ask someone to look after it
Nominate a friend or family member to check the table a few times. They can bring a pen back, replace adhesive and turn the page if people keep filling the same spread. The role should be small enough that they can still enjoy the evening.
The booth attendant runs the booth and helps guests with their photos. Album assembly and rounding up missing messages aren't automatically part of that job. Having a guest who knows your friends involved makes those reminders more natural.
Decide how the book gets home
Put collection of the album on your end-of-night list alongside gifts and personal items. Give it to a named person, especially if you are leaving the reception early or going straight to accommodation.
You will also receive a digital gallery after the wedding, with our standard turnaround within 48 hours. The gallery keeps the photos together; the book keeps the messages beside them. To arrange the booth itself, send your wedding date and venue and mention that you're planning a guest book.